Last updated on: March 7th, 2026 22:53 pm
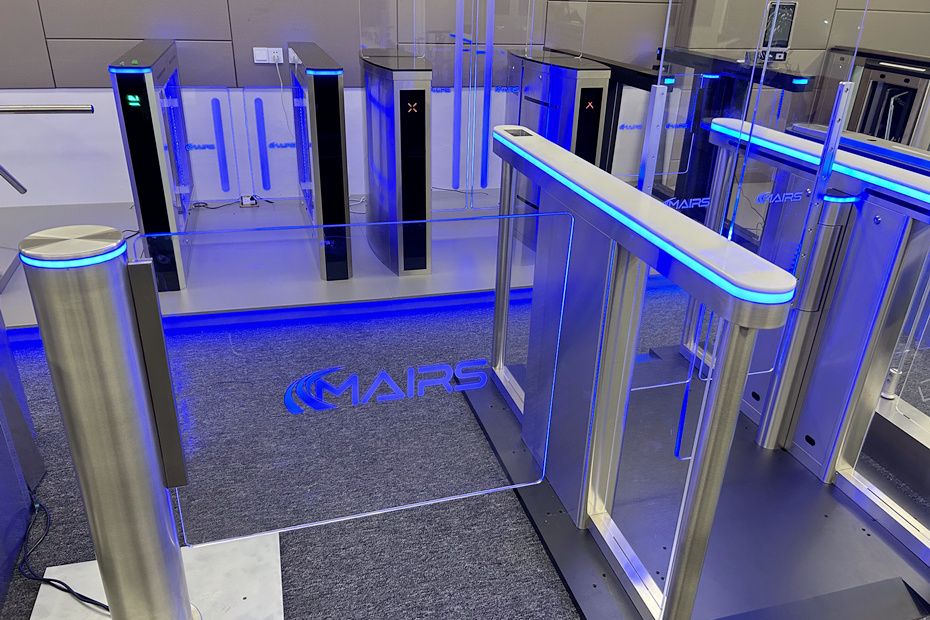
A flap barrier turnstile is a sophisticated piece of access control equipment. Its sleek design and fast operation make it a popular choice for office lobbies, subway stations, and other high-traffic areas. However, to ensure it performs reliably for years, the installation must be done correctly.
A poorly installed flap barrier can lead to misaligned sensors, mechanical jams, and premature failure. This guide provides a comprehensive, step-by-step approach to professional flap barrier installation, covering everything from site preparation to final debugging.
Important: This is a general guide. Always refer to the specific flap barrier installation manual and wiring diagram provided by your manufacturer (like MairsTurnstile) for model-specific details.


Phase 1: Essential Pre-Installation Checklist
Before you even unpack the equipment, verify these site conditions.
Site Conditions
Sufficient Space: Confirm the planned location has enough width for the number of lanes required. Remember that you need space for the cabinets and the lane gaps. If the space is too narrow, installation will be impossible. If it’s too wide, you can use guardrails, but measure carefully.
Level Floor: The ground must be flat and level. An uneven surface will twist the chassis and cause mechanical and sensor alignment issues.
Clear Path: Ensure the area is clear of obstructions and allows for a natural flow of pedestrian traffic.

Electrical & Network
Stable Power Supply: A dedicated, stable 220V AC power source is required. It is highly recommended to use a leakage switch (RCD) or other current control device for safety.
Power Protection: Consider surge protectors to prevent damage from power fluctuations.
Network Access: If the turnstile needs to communicate with an access control server or ticketing system, ensure a reliable network connection (Ethernet) is available at the installation point.
Pre-Embedded Conduits (Critical for a Clean Finish)
Before the final floor is laid, you must plan the wiring paths. For a professional installation, use pre-embedded conduits.
Conduit Separation: Use separate conduits for power (strong current) and signal/data (weak current). Running them together causes interference and communication errors.
Specification: Use two 6/8-inch (20-25mm) plastic conduits per lane—one for power, one for signal.
Placement: The conduits should rise 30-40mm above the finished floor level and be positioned exactly in the center of where each turnstile cabinet will sit.
Gap Between Gates: Leave a 50-100mm gap between adjacent flap barrier cabinets. This gap allows for adjustments during alignment and future maintenance access.
Tools & Personnel
Professional Installer: Installation should be carried out by qualified personnel familiar with electrical work and mechanical assembly.
Required Tools: Hammer drill, masonry bits, wrenches, screwdrivers, spirit level, marker, thin string line, multimeter, and expansion bolts (M12 recommended).
Phase 2: Step-by-Step Flap Barrier Installation
Step 1: Determine the Final Installation Location
Based on your site plan, mark the exact position for each turnstile cabinet.
Consider the direction of pedestrian flow. The main control cabinet is usually on the right-hand side of the passage (direction of entry).
Ensure the planned positions align with the pre-embedded conduits.
Step 2: Initial Placement and Power-Up for Alignment
Temporarily place the flap barrier cabinets in their approximate positions.
Connect them to power temporarily. This is a unique and crucial step for flap barriers.
Power on the units and use the controls to move both baffles (flaps) to the fully closed position.
Step 3: Precision Alignment
This step determines the final appearance and function of the lane.
Use a thin string line to establish a perfectly straight line for the front of all cabinets.
Align the two (or more) cabinets so they are in a perfect straight line, both vertically and horizontally.
Adjust the gap between the cabinets so the distance between the two closed baffles is exactly 3cm to 5cm. This gap is critical for the flaps to operate without colliding.
Once the position is perfect, use a marker to trace the outline of the chassis base on the floor and mark the exact center of all mounting holes.

Step 4: Drill and Fix the Chassis
Move the cabinets aside.
Using a hammer drill, bore vertical holes at the marked screw positions. The depth must match the length of your expansion bolts.
Clean the dust from the holes and insert the expansion bolt sleeves.
Move the cabinets back into their exact traced position.
Insert the expansion bolts through the chassis base and into the floor. Tighten them firmly, but do not fully tighten yet.
Re-check the alignment (straight line and level) with the string line and spirit level. Make final micro-adjustments.
Once perfect, fully tighten all expansion bolts.
Step 5: Connect Power, Signal, and Synchronization Cables
IMPORTANT: Ensure the main power is OFF before making any connections.
Route the power cables from the mains supply through the power conduit and connect them to the terminals in each cabinet as per the wiring diagram.
Route the signal and network cables through the signal conduit.
Connect the synchronization (SYNC) cable between the cabinets. This is essential for them to operate as a paired lane.
Connect the cables from the access control system (card reader, etc.) to the designated terminals on the main board. Refer strictly to your flap barrier wiring diagram for the correct terminals (e.g., “OPEN,” “GND,” “COM,” “12V”).
Step 6: Final Debugging and Testing
After all connections are secure, turn on the main power.
Sensor Check: Verify that every pair of infrared sensors is properly aligned. Use the alignment mode or test by passing your hand through the lane. Misaligned sensors are the most common cause of malfunction.
Function Test: Test all basic functions:
Open and close the gates using the manual controls.
Test with a valid credential (card, QR code). Does the gate open smoothly?
Test with an invalid credential. Does the gate remain locked?
Test the anti-pinch function by placing an obstacle in the path of a closing flap.
Fine-Tuning: If all functions are working perfectly, perform a final tightening of all expansion bolts.
Seal the Base: Apply a bead of silicone sealant around the base where the chassis meets the floor to prevent water ingress.

The Importance of the Wiring Diagram
The flap barrier wiring diagram is the single most important document for the electrical installation.
Why it’s critical: Connecting a wire to the wrong terminal can short-circuit the mainboard, destroy expensive components, or create a serious safety hazard.
Model Specificity: The wiring diagram for a flap barrier is different from other gates. Even different models of flap barriers may have different boards and pinouts.
What to do: When you purchase a turnstile from Mairs, we provide the correct wiring diagram for your specific unit. Always use this document, not a generic one from the internet.
If you are unsure about any connection, stop and contact the manufacturer’s technical support.
Essential Safety Checklist
Qualified Personnel Only: Technicians without an electrician’s certificate or proper electrical training are strictly prohibited from performing 220VAC connections.
Power Off: Always disconnect the main power before opening the chassis for any reason, including inspection or maintenance.
Proper Foundation: Never attempt to fix a turnstile to an unstable or unprepared floor.
Do Not Touch Live Parts: After power-on, avoid touching parts like the switching power supply, motor, or resistors, as they can become hot.
No Explosive Environments: These units are not explosion-proof and must not be installed in flammable or explosive atmospheres.
Separate Power Interfaces: It is highly recommended to use a dedicated power circuit for the turnstiles, separate from other large equipment that could cause interference.
Need the Manual or Technical Support?
A successful flap barrier installation is the result of careful planning and precise execution. Mairs Turnstile provides a detailed installation manual and the correct wiring diagram with every purchase.
If you have purchased a unit from us and need a replacement manual, or if you are in the middle of an installation and have a technical question, please do not hesitate to contact us.
Contact Mairs Technical Support for immediate assistance. We are here to help you succeed.
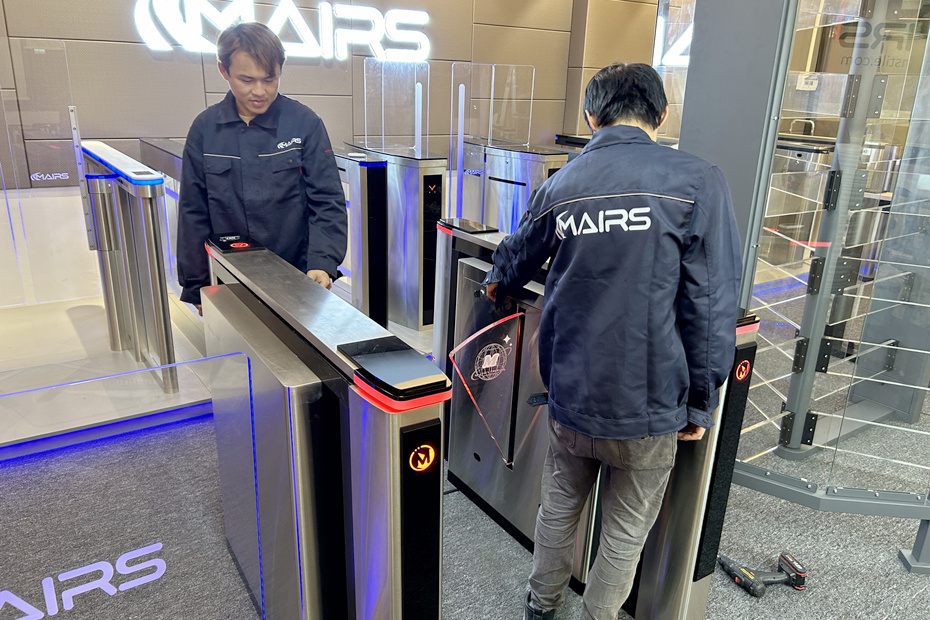
Flap Barrier Installation demo:
The previous preparation steps may be somewhat different due to different environments and sites. Please complete them according to your actual situation. This is the most important part about the specific installation and wiring of the flap barrier gate.
If you purchased our Mairs flap barrier turnstile, you can fully refer to the installation and wiring in the following video. Of course, if you didn’t buy our flap barrier turnstile, the process is similar. You can also refer to it.
Many customers do not know how to choose the proper flap barrier turnstile gate, do not know how many flap barriers do they need, and many customers also worry about how to install them after the purchase.
As a professional security turnstile gate manufacturer, Mairsturnstile is not only simply to provide customers with high-quality products, but more important thing is to provide technical support and after-sales service. Therefore, we must provide each customer with detailed instructions for use and installation. Every customer who cooperates with us never needs to worry about any problems. Mairsturnstile provides professional technical support and after-sales service to every customer.
In short, the installation and construction of flap barrier gates need to strictly follow the prescribed steps, paying attention to safety and details. Only by following the correct installation and maintenance methods can the normal operation and effectiveness of the wing gate equipment be guaranteed.
Above is all the content on how to install the flap barrier turnstile gate, if you have any questions during the installation of the flap barrier, please don’t hesitate to contact us. Mairsturnstile provides all kinds of high-quality turnstile gates for sale at affordable turnstile gate prices. We can also customize the turnstile gate according to your requirements. Our aim is to provide high-quality products and the best service. All of our products get 2 years warranty. If there is an exception or technical support during the use of the turnstile gate, We are very pleased to offer you the most satisfactory reply and provide the best service.