Last updated on: February 26th, 2026 16:03 pm
Types of turnstile installation:
Installing a turnstile gate is a critical step in securing your facility. A proper installation ensures the equipment operates smoothly, lasts for years, and provides the security you expect.
For many buyers, the big question is: “How difficult is the installation?” The answer depends on the preparation.
If you purchase from a reputable manufacturer like MairsTurnstile, most of the complex work is done in the factory. Your on-site team handles the final positioning, fixing, and connection. This guide will walk you through the entire process, from preparing the site to the final test.
It should be noted that different types of turnstiles may have different design drawings and pre-embedded circuits, and the installation process may vary. For different types of turnstiles, we will also provide detailed installation instructions.
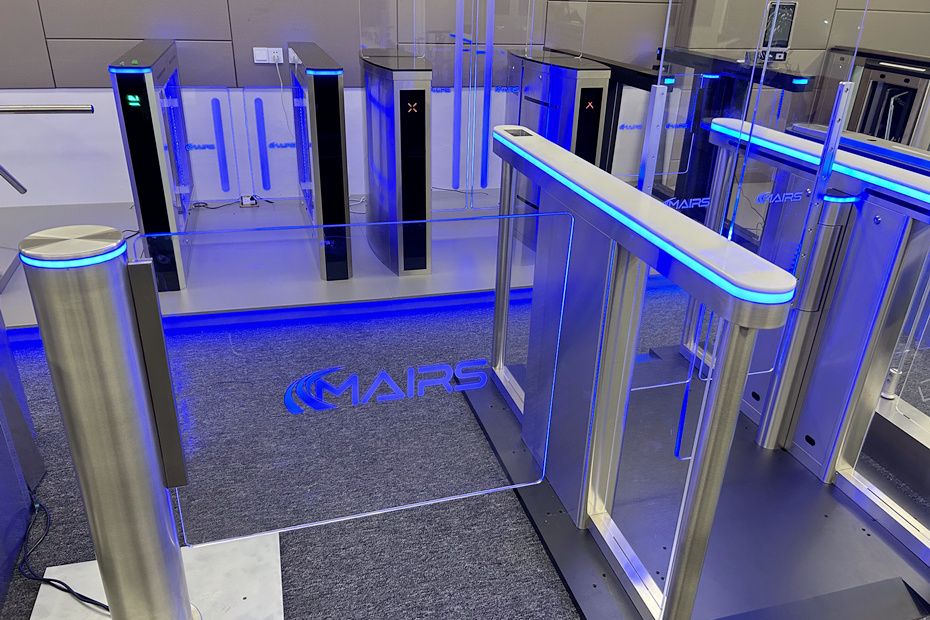
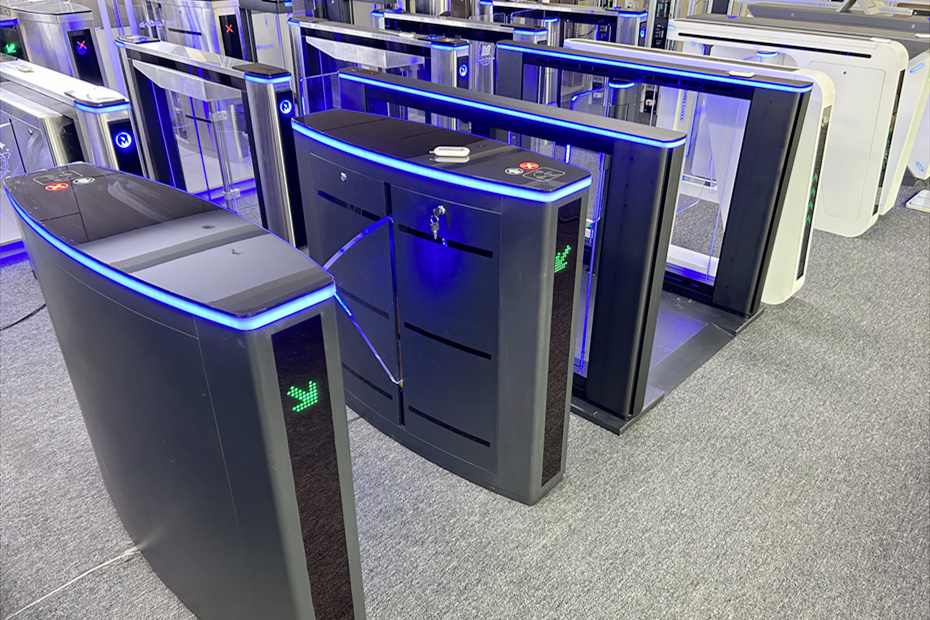
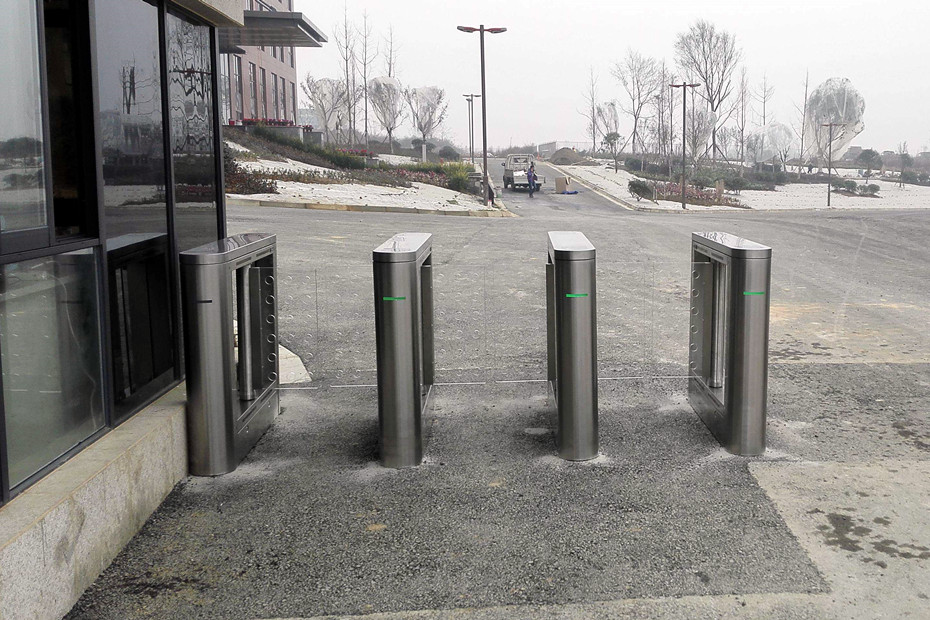
As is well known, turnstiles are divided into many types, and common ones include: tripod turnstile, swing turnstile, flap barrier turnstile, speed gate turnstile, full height turnstile, and different types of turnstiles have some differences in installation steps and processes. If you want to understand the installation of different types of turnstiles in detail, please refer to the following article:
Full height turnstile installation
Turnstile gate installation demo:
The following is a tripod turnstile installation video demo, for your reference only.
If you are looking for any types of turnstiles or need turnstile gate installation service, Please call us at: +86 1532-343-1686 or request a free estimate.
Before You Begin – Critical Site Preparation
The success of your turnstile gate installation depends almost entirely on the preparation work done before the equipment arrives. Rushing this phase is the most common cause of problems.
1. Site Conditions Checklist
Before installation day, verify the following:
Floor Leveling: The ground must be perfectly flat and level. An uneven surface will cause the chassis to twist, leading to mechanical jams and a reduced lifespan for the mechanism.
Floor Finish: The final floor surface (tiles, marble, concrete) should be laid and fully cured before installation begins.
Clearance: Ensure the area is clear of debris, construction materials, and other obstructions.
Waterproofing: For indoor sites, ensure the area is dry. For outdoor sites, the foundation must be prepared to prevent water pooling around the base.
2. Electrical & Network Checklist
Getting the wiring right is the most critical technical step. Mistakes here can lead to costly rework.
Conduit Placement: All wiring must be run through buried conduits (e.g., 6-point galvanized pipes) before the final floor is laid.
Cable Specifications: Use national standard, high-quality cables.
Cable Reserve: Leave at least 3 meters of cable protruding from the floor at each installation point. This allows for easy connection to the control board.
Labeling: Every cable must be clearly labeled. Provide a wiring diagram to the installation team.
Power Supply: A stable 220V power source must be available. A temporary construction power supply with a three-level distribution box is often needed during commissioning.
Network/Communication:
For gates with optical fiber communication, ensure the fiber is laid, tested, and has an SC connector interface.
Prepare an IP address table for the network team if the gates are on a network.
Inter-Gate Wiring: If installing multiple lanes in a row, remember to bury conduit between each gate cabinet to run SYNC and communication cables. A good rule of thumb is to bury one or two extra conduits than you think you need, to future-proof the installation.
3. Installation Tools & Materials
Gather these items beforehand:
Screwdrivers (Phillips and flathead)
Wrenches and socket sets
Marker pen
Hammer drill with a 12mm (or 1/2 inch) masonry bit
M12 anchor bolts or high-quality expansion bolts
Level
Silicone sealant (glass glue)

Step-by-Step Turnstile Gate Installation
Once the site is prepared, follow these steps for a standard turnstile gate installation.
Step 1: Determine Final Positioning
Based on the architectural drawings and on-site measurements, mark the exact location for each turnstile cabinet. Ensure the spacing between units is correct for your desired lane width.
Step 2: Position and Mark
Place the turnstile chassis in its exact position.
Use a level to ensure it is perfectly horizontal and vertical. Shims can be used for fine adjustments, but the floor must be level.
Once positioned correctly, use a marker pen to trace the outline of the base onto the floor. Also, mark the exact spots for the fixing screws through the mounting holes inside the chassis.
Step 3: Drill and Anchor
Move the chassis aside.
Using a hammer drill, drill holes at the marked spots. A typical depth is 10-13cm (4-5 inches) for anchor bolts.
Insert M12 anchor bolts or expansion bolts into the holes.
Step 4: Fix the Chassis
Place the chassis back over the bolts.
Tighten the nuts firmly to secure the chassis to the floor. Double-check with the level to ensure it hasn’t shifted during tightening.
Pro Tip: After final fixing, apply a bead of silicone sealant (glass glue) around the base’s edge where it meets the floor. This prevents water and cleaning fluids from seeping under the unit.
Step 5: Connect the Cables
This is the most delicate step.
Open the access panel on the chassis to reveal the control board.
Power First: Connect the main power cable to the terminal block, observing correct polarity and ground.
Access Control: Connect the wires from the card reader, exit buttons, and other peripherals to the designated ports on the main board.
Communication: Connect the SYNC cables between multiple gates and the network cable.
Important: Always refer to the specific wiring diagram provided in your user manual. A small mistake here can damage the board.
Step 6: Initial Power-On and Debugging
Turn on the power.
Observe the control board for any error lights.
Test the manual functions. Can you open and close the gate using the maintenance buttons?
Test the sensors. Does the gate detect obstacles correctly?
Step 7: Configure Parameters
Using the control board’s menu or a connected computer, adjust the settings for your environment:
Opening and closing speed
Passage direction (one-way or two-way)
Alarm settings
Auto-close timer
Step 8: Test with All Systems
Test the gate with every authentication method you plan to use (card, fingerprint, QR code, face recognition).
Test for safety functions: Try to tailgate, try to stop the closing arm. Ensure the anti-pinch and alarm systems work perfectly.
Test the emergency functions (e.g., power failure mode). Ensure the gate opens automatically for evacuation.
Step 9: Final Inspection
Ensure all covers and access panels are securely fastened.
Clean the surface of the gate.
Walk through the lane several times to confirm the flow feels natural and safe.
Need Help? We’re Here for You
A successful turnstile gate installation is the result of good planning and careful execution. At MairsTurnstile, we support you every step of the way.
Detailed Manuals: Every gate ships with a comprehensive installation and user manual.
Technical Support: Our team is available to answer questions and guide you through tricky steps.
On-Site Commissioning: For large or complex projects, we can arrange for professional commissioning.
If you have questions about your specific project or need the installation guide for a particular model, please contact our support team. We are always pleased to help.
During the installation process, it is essential to follow the installation guidelines and operating manuals provided by the manufacturer to ensure smooth installation and ensure installation quality and safety. If necessary, it is recommended that installation and debugging be carried out by professional personnel.
Turnstile gate installation precautions:
The service life of the turnstile gate also has a certain relationship with the initial installation. Therefore, we should do it in a reasonable and compliant manner during the initial installation. We should pay attention to the following aspects:
1. The installation of a turnstile gate is generally on the horizontal ground or the gate base. If the ground is uneven, the turnstile gate will be easy to shake during use, affecting the stability of the turnstile mechanism, and the service life of the turnstile gate will be reduced after a long time.
2. During positioning, Make sure that the positions of each group of turnstile gates are consistent, horizontal, and vertical. Then draw it on the floor tile along the bottom of the turnstile gate with a marker pen, open the inside of the turnstile gate, and draw the screw hole position for fixing the gate, so as to facilitate the opening and fixing at the back.
3. For the installation and wiring of the turnstile gate, it is recommended to use a 6-point galvanized pipe when embedding the conduit and select a formal national standard cable for connecting the power line, which can maintain a long service life when buried underground. It is also good for the service time of the turnstile gate.
4. Before embedding the line pipe, be sure to check with the construction unit to see if the turnstile gate installation drawing conflicts with other existing pipelines on the site. The turnstile gate installation affects the beauty of other parts of the site. The best way is to also have the turnstile gate installation plan in the drawing. To get the final version of the drawing, determine the accurate position of the turnstile gate installation according to the final version of the drawing.
5. During the installation of the turnstile gate, anti-skid, and moisture-proof treatment shall be carried out on the ground to prevent personnel from falling due to ground sliding. After installation, glass glue must be applied to the extension of the gate to prevent water seepage.

6. After the turnstile gate is adjusted and aligned with the installation position, the hole position of the fixing screw shall be marked. It is more appropriate to drill with a 12-point ground drill with a drilling depth of 10-13cm. It is recommended to embed M12 anchor bolts or use expansion bolts to fix the screws during fixation.
7. After the turnstile gate is installed and connected, it must be carefully tested. If the test operation is abnormal, it is necessary to re-install and debug the turnstile gate equipment.
8. After the installation and commissioning of the turnstile gate machine, the start-up and operation test shall be carried out, and it can be put into use after passing the inspection and test by the on-site technicians.
9. The most important thing for the installation of a pedestrian turnstile gate is the buried pipe wiring in the early stage. If the line is wrong, it will have a great impact on the later installation of the turnstile gate, which may lead to rework. It is best to install the pipe wiring under the guidance of the turnstile manufacturer. If it is not very clear, one or two more pipes shall be buried between each two turnstile gates, so that the turnstile gates can be connected with each other, In this way, there will be no problem in the later installation of the turnstile gate.
Turnstile gate installation conditions:
As a piece of electrical equipment, the turnstile gate can only be installed in a standard discipline to ensure that there will be no problems in subsequent use. In reality, the installation of many turnstile gates is not very standard. They were installed before the installation conditions were met. Today, Mairsturnstile will introduce the installation conditions that should be met before the turnstile gate installation.
1. Does the turnstile gate installation site need to be reconstructed? Is the ground flat? Unevenness will affect the fixation of the equipment. Previously, a full-height turnstile was installed by the customer under poor ground conditions, which made the equipment unable to be fixed. The equipment was completely fixed only after the key was changed in the rear site, so the ground condition is very important
2. The passage distance must be confirmed, and the position must be reserved during slotting wiring,
3. Before equipment installation, the wiring buried pipe must be handled well to facilitate equipment installation. The trunking shall be laid in advance according to the design drawings;
4. The size, length, and width of the ground outlet hole are determined relative to the turnstile gate size, and the center point of the outlet position is in the middle of the turnstile gate.
5. Reserve the ground outlet hole according to the correct position of the drawing;
6. The marble laying on the ground within the installation scope is completed, and the outlet hole is closed correctly. There is no danger of falling hard objects in the area where the turnstile gate is installed;
7. There is no pounding on the ground. An optical fiber (or network cable involved in some projects) each group of gate optical fiber shall be laid in place, and a length of 3m above the ground shall be reserved. The cable shall be labeled and the wiring routing table shall be submitted;
8. After the turnstile gate is installed, the wiring unit can weld and connect the optical fiber and provide jumpers. The turnstile gate is equipped with its own optical fiber switch, and the interface is an SC port. According to different projects, single-mode or multimode optical fiber equipment is provided according to the contract gate. Each group of gate cables shall be laid in place, with a length of 3m reserved. The cables shall be labeled and the wiring routing table shall be submitted;
9. Optical fiber and cable shall pass the test;
10. Strong current cables shall be laid under each group of turnstile gate units, and the wiring shall be in place, with a length of 3m reserved above the ground;
11. Provide the IP address table of the turnstile gate. Or the installation technology department shall modify it by itself during the general commissioning;
12. Please provide 220V temporary construction power supply and three-level distribution box on-site for turnstile gate installation and single commissioning;
13. Before mobilization and installation, cooperate to handle various mobilization procedures.
14. Before turnstile gate installation, it is required to provide the final site construction plan drawing of the Design Institute for accurate positioning of equipment
15. Cables between equipment are self-contained and laid during installation. The trunking for threading shall be reserved in advance. The outlet from the equipment outlet.
The storage location:
Before the turnstile gate is installed, the customer will buy the turnstile gate in advance for a while. Generally, it will be stored for a period of time. The turnstile gate installation itself also takes a period of time. During the installation, the turnstile gate needs a place to be stored. The equipment itself is packed in wooden cases, but the storage location of the turnstile gate machine is still required to meet the following conditions:
1. Close to the turnstile gate installation site and it’s on the same floor.
2. It is required to be rainproof and there is no water on the ground.
3. There is no danger of hard objects falling over the turnstile gate.
4. It is close to the turnstile gate installation site for easy handling.
5. Within the scope of security or security monitoring.
The above are some precautions for turnstile gate installation summarized by us. In addition to careful attention during installation, turnstile gate maintenance is also very important. Let’s briefly introduce turnstile gate maintenance. For turnstile gate maintenance, you can view another article: turnstile maintenance

For many customers who first touch the turnstile gate, the first question that may come to mind is if I buy this security turnstile gate from your company, how can I install such a big thing? Do you provide installation services after I buy from your company? This is the first question that many customers ask, but through the above content, I believe that most customers have mastered how to install the turnstile gate and have no such concerns.
The above is all the content of the turnstile gate installation. Of course, this is only a general summary. If you can strictly follow the above steps to install, I believe it should be very simple to complete the turnstile gate installation. In addition, it must be noted that the products of each manufacturer should be differentiated, but a qualified product should be equipped with detailed installation instructions. Each of our turnstile gates is equipped with detailed installation instructions and use instructions. Of course, if you buy turnstile gates from Mairs, you can contact us at any time if you have any problems during the turnstile gate installation process, We will provide professional technical support.